


Price range: £ 8.00 through £ 14.00
Gua Sha mushrooms now available to purchase at Blue Labelle!
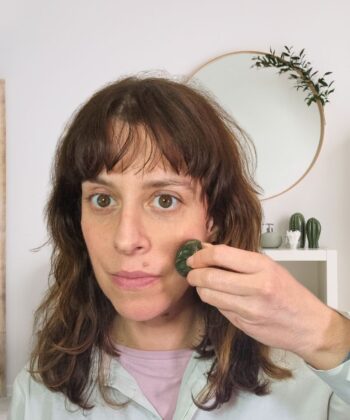
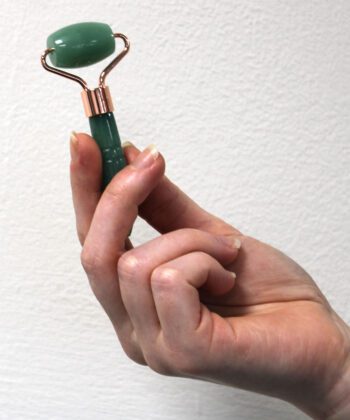
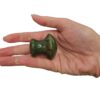
Gua Sha mushroom are used like a normal gua sha but they’re heavier and have bigger smoother gliding areas. Simply apply your facial oil, then glide the Jade Gua Sha mushroom across your face from the centre outwards. Full instructions come with the tool.
Colours will vary between mushrooms.
Choose from either one mushroom for £8, or choose two for £14, and give yourself an extra professional at-home massage by gliding both mushrooms across your face at once (away from each other, for example along the jawline up to your ears).
Gua sha tools have been used in traditional Chinese medicine as far back as the Ming Dynsasty of 1368, to treat issues related to chronic pain from inflammation. The main aim of Gua Sha is to literally scrape away the ailment. It breaks up the stagnant energy of ‘qi’ / ‘chi’.
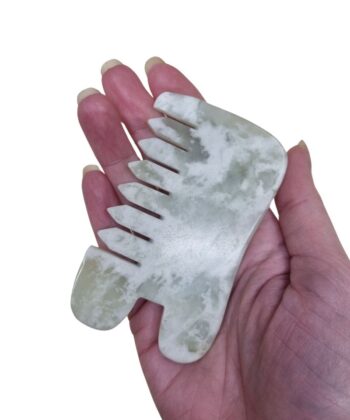
What is a Gua Sha Mushroom?
Based on traditional gua sha tools but similar to a shape of a mushroom, we use them to glide across the skin, using short or long strokes to promote circulation and increase blood flow. Heavier than a normal gua sha, with a large smooth side and a smaller smooth side.
Gua Sha ‘scraping’ aims to:
- Relax muscles.
- Get energy and blood moving.
- Reduce puffiness.
- Encourage healthy circulation.
- Eliminate toxins and generate oxygen and nutrient flow.
- Encourage the skin to make new collagen.
- Drain and clear the lymphatic system.
- Smooth wrinkles and fine lines – you’ll never get rid of them totally, but regular massage will stimulate the collagen and skin underneath to lessen their appearance.
- Reduce dark circles.
- Soften smile lines.
- Improve neck area – lift and firm up double chin and jawline puffiness.
- Lift eyebrows and area under eyebrows that can sag as we age.
Tips for your gua sha mushroom massage
- Jade stone is fragile, be really careful not to drop your Gua Sha stone as it will probably break!
- Always use light pressure, imagine the pressure of writing on a page with a pen.
- Be consistent, the best results come when you perform Gua Sha regularly, even if it’s just for a few minutes every day.
- You could start doing the Gua Sha routine once a week, building up to more frequently, then once you’re in the groove with it you can perform the massage every day after you’ve applied your facial oil.
Safety considerations
- Not recommended for those with rashes, sunburn, blood coagulation issues.
- Do not use if you are prone to broken capillaries.
- Do not use on acne areas, or broken skin.
- Proper Gua Sha done on the body in Traditional Chinese Medicine often makes red marks (that’s what the Sha is!), but of course we are being more careful on the face. So go lightly. Any red marks that you do create show you are stimulating and clearing the skin. If you do press too hard and make a little bruise then it will go after a few days. Best not to though – light pressure is all you need to have great effects with this wonderful tool.
Pascale Says
I've yet to meet a customer who's bought one of these and didn't love it! Such a great price too. Comes with full instructions. Gua sha your way to glowing skin today!
• Before we begin: Make sure you skin is wet or has oil on it, never use your Gua Sha tool on dry skin. Facial oils are perfect for going on the skin before a Gua Sha massage. Your tool will slip and glide over your face with minimal friction.
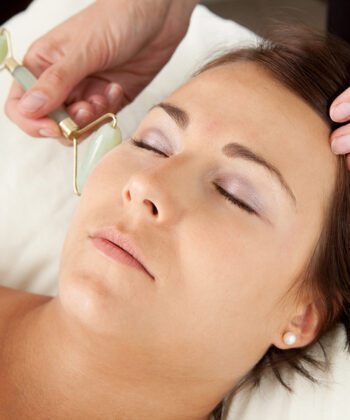
• On the face always go from centre of the face outwards, and upwards, and it's good if you can end your sweeps by then going lightly down the neck to promote lymphatic drainage.
• When working the tool across your skin, always move in one direction, not back and forth.
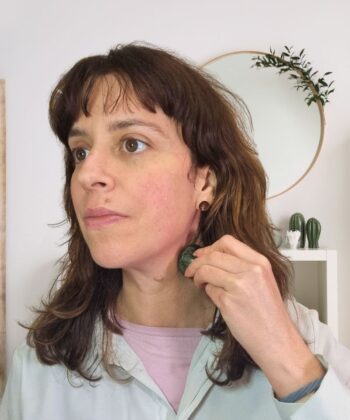
• Start at your neck stroking down from beneath the ear to the collarbone, to promote lymphatic drainage. Do both sides. This is like cleaning a kitchen surface before beginning to prepare a meal.
• Now you can begin the routine -
going up the neck from collarbone, giving the mushroom a little wiggle when you get to the top of the neck, to stimulate the acupressure point and release tension. Avoid the front of your throat.
•Puffiness should be reduced, and muscles will be relaxed, through the stroking action. A redness / flush may occur as you stimulate the blood flow. Make sure you don't press too hard, allow the weight of the gua sha to do the work for you.
• Now go along the jawline, start at your chin and sweeping up to the ear, then down the neck to drain, Repeat 8-9 times. This can really reduce the tension kept in the jaw.
• Now sweep from the side of the nose up to the temple, up to the cheek bone but not above on the delicate eye area.
• Carefully go across the eyebrows and sweep up.
• On the forehead - hold skin taut and go up from eyebrows into hair line, always giving a little wiggle at the top.
• Any wrinkles or frown lines can be focused on, wiggle the tools right into those areas to stimulate collagen and aim to lessen the frown lines.
• If you want to go around the eyes simply press the cold Gua Sha tool along the delicate under & above eye area, do not scrape.
• Now go from forehead back into hairline, this is great at reducing tension and headaches.
After completing the face and head always then go back down the neck from under ear to collarbone on both sides, to encourage more lymphatic drainage and clear the stagnant energy that you have unlocked with your Gua Sha massage.
Q & A
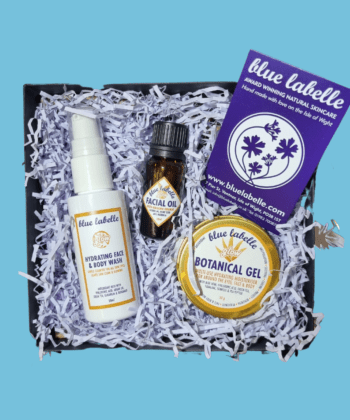
Facial Tools at Blue Labelle


Related products


Reviews
There are no reviews yet